I like going to the thrift store. Sometimes I just go there just to look around or if I see some good stuff I buy it. Sometimes you can find unused item for a very low price compare to buying a brand new which will cost me a ton of money.
Anyway, this week I went to the thrift store agai,n and I found some name brand girls dress for less than $3 each and an overall for my 5 year old boy for a dollar (no picture).
blue adult hat for $1
KC's hat $1 and a light green summer dress size 3T for $1.99
I couldn't make a dress like this for $2, so I think it's worth it!
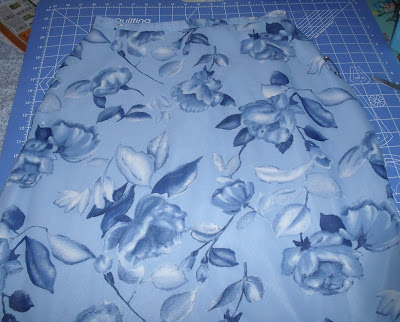
Skirt for $1.00. I can't wear this right now since my belly is quite big :-).
FUN Part! Crafty :-)
My blue adult hat was kinda boring, so I bought a flower bush from Walmart for 94cents. I cut off the flower steam and glued the flower and the left together and glue it on the front part of the hat. So it look like this
what do you think?
Also for my blue skirt, I modified it too :-)
From a skirt to a simple maternity dress tutorials
I love it! more room for my big belly. Plus the hat was matched to my dress.
I don't think I am the first one who make like this. I've been reading crafters blogs for months now and also follow them. They have so many great ideas how to make dresses and etc. Its just blow my mind that I want to make some for myself or for my family. Anyhow, here is how I did my skirt to maternity dress.
This skirt has a wide bottom, so it is just perfect for my big belly. It was quite long too from waist to my ankle. You don't have to do anything to the bottom part.
Next, I took my sleeveless shirt and trace the arm circle as my pattern. Place it from the waist line of the skirt and trace the arm circle and chop it off. For the neckline, I just folded the sleeveless shirt and get the length of my shirt and apply it to the skirt and same thing you cut it off the way you like it. round neckline or V-shape what work bet for you.
For this project I used 1" bias. I have to make the bias though from scratch. But I think 1/2"bias will look much better. Oh well, my first project for my self :-) more trial-and -error.
1" bias
Then pin the 1'bias around the arm circle and the neckline. Then sew it! Sew the shoulder part together and YOU ARE DONE! That's easy!
Thanks for dropping by!


